01 - How to Apply Gel Polish at Home (Step-by-Step Guide for Long-Lasting Nails)
If you want salon-quality gel nails at home, mastering the correct application process is key. Using high-quality products like Crystal Crescent (CC) Gel Polish, along with proper nail prep, ensures a long-lasting, glossy finish without lifting or chipping.
This step-by-step guide will show you exactly how to apply gel polish correctly, while using the essential CC nail prep and finishing products for the best results.
If you’re new to gel nails, watch this quick tutorial below to learn how to apply gel polish properly for a smooth, salon-quality result.
Now that you’ve seen the full process, follow the step-by-step guide below to recreate this gel polish application at home using the correct tools and techniques.
What You’ll Need
Before starting, make sure you have the right tools and products:
CC Gel Polish (your chosen colour)
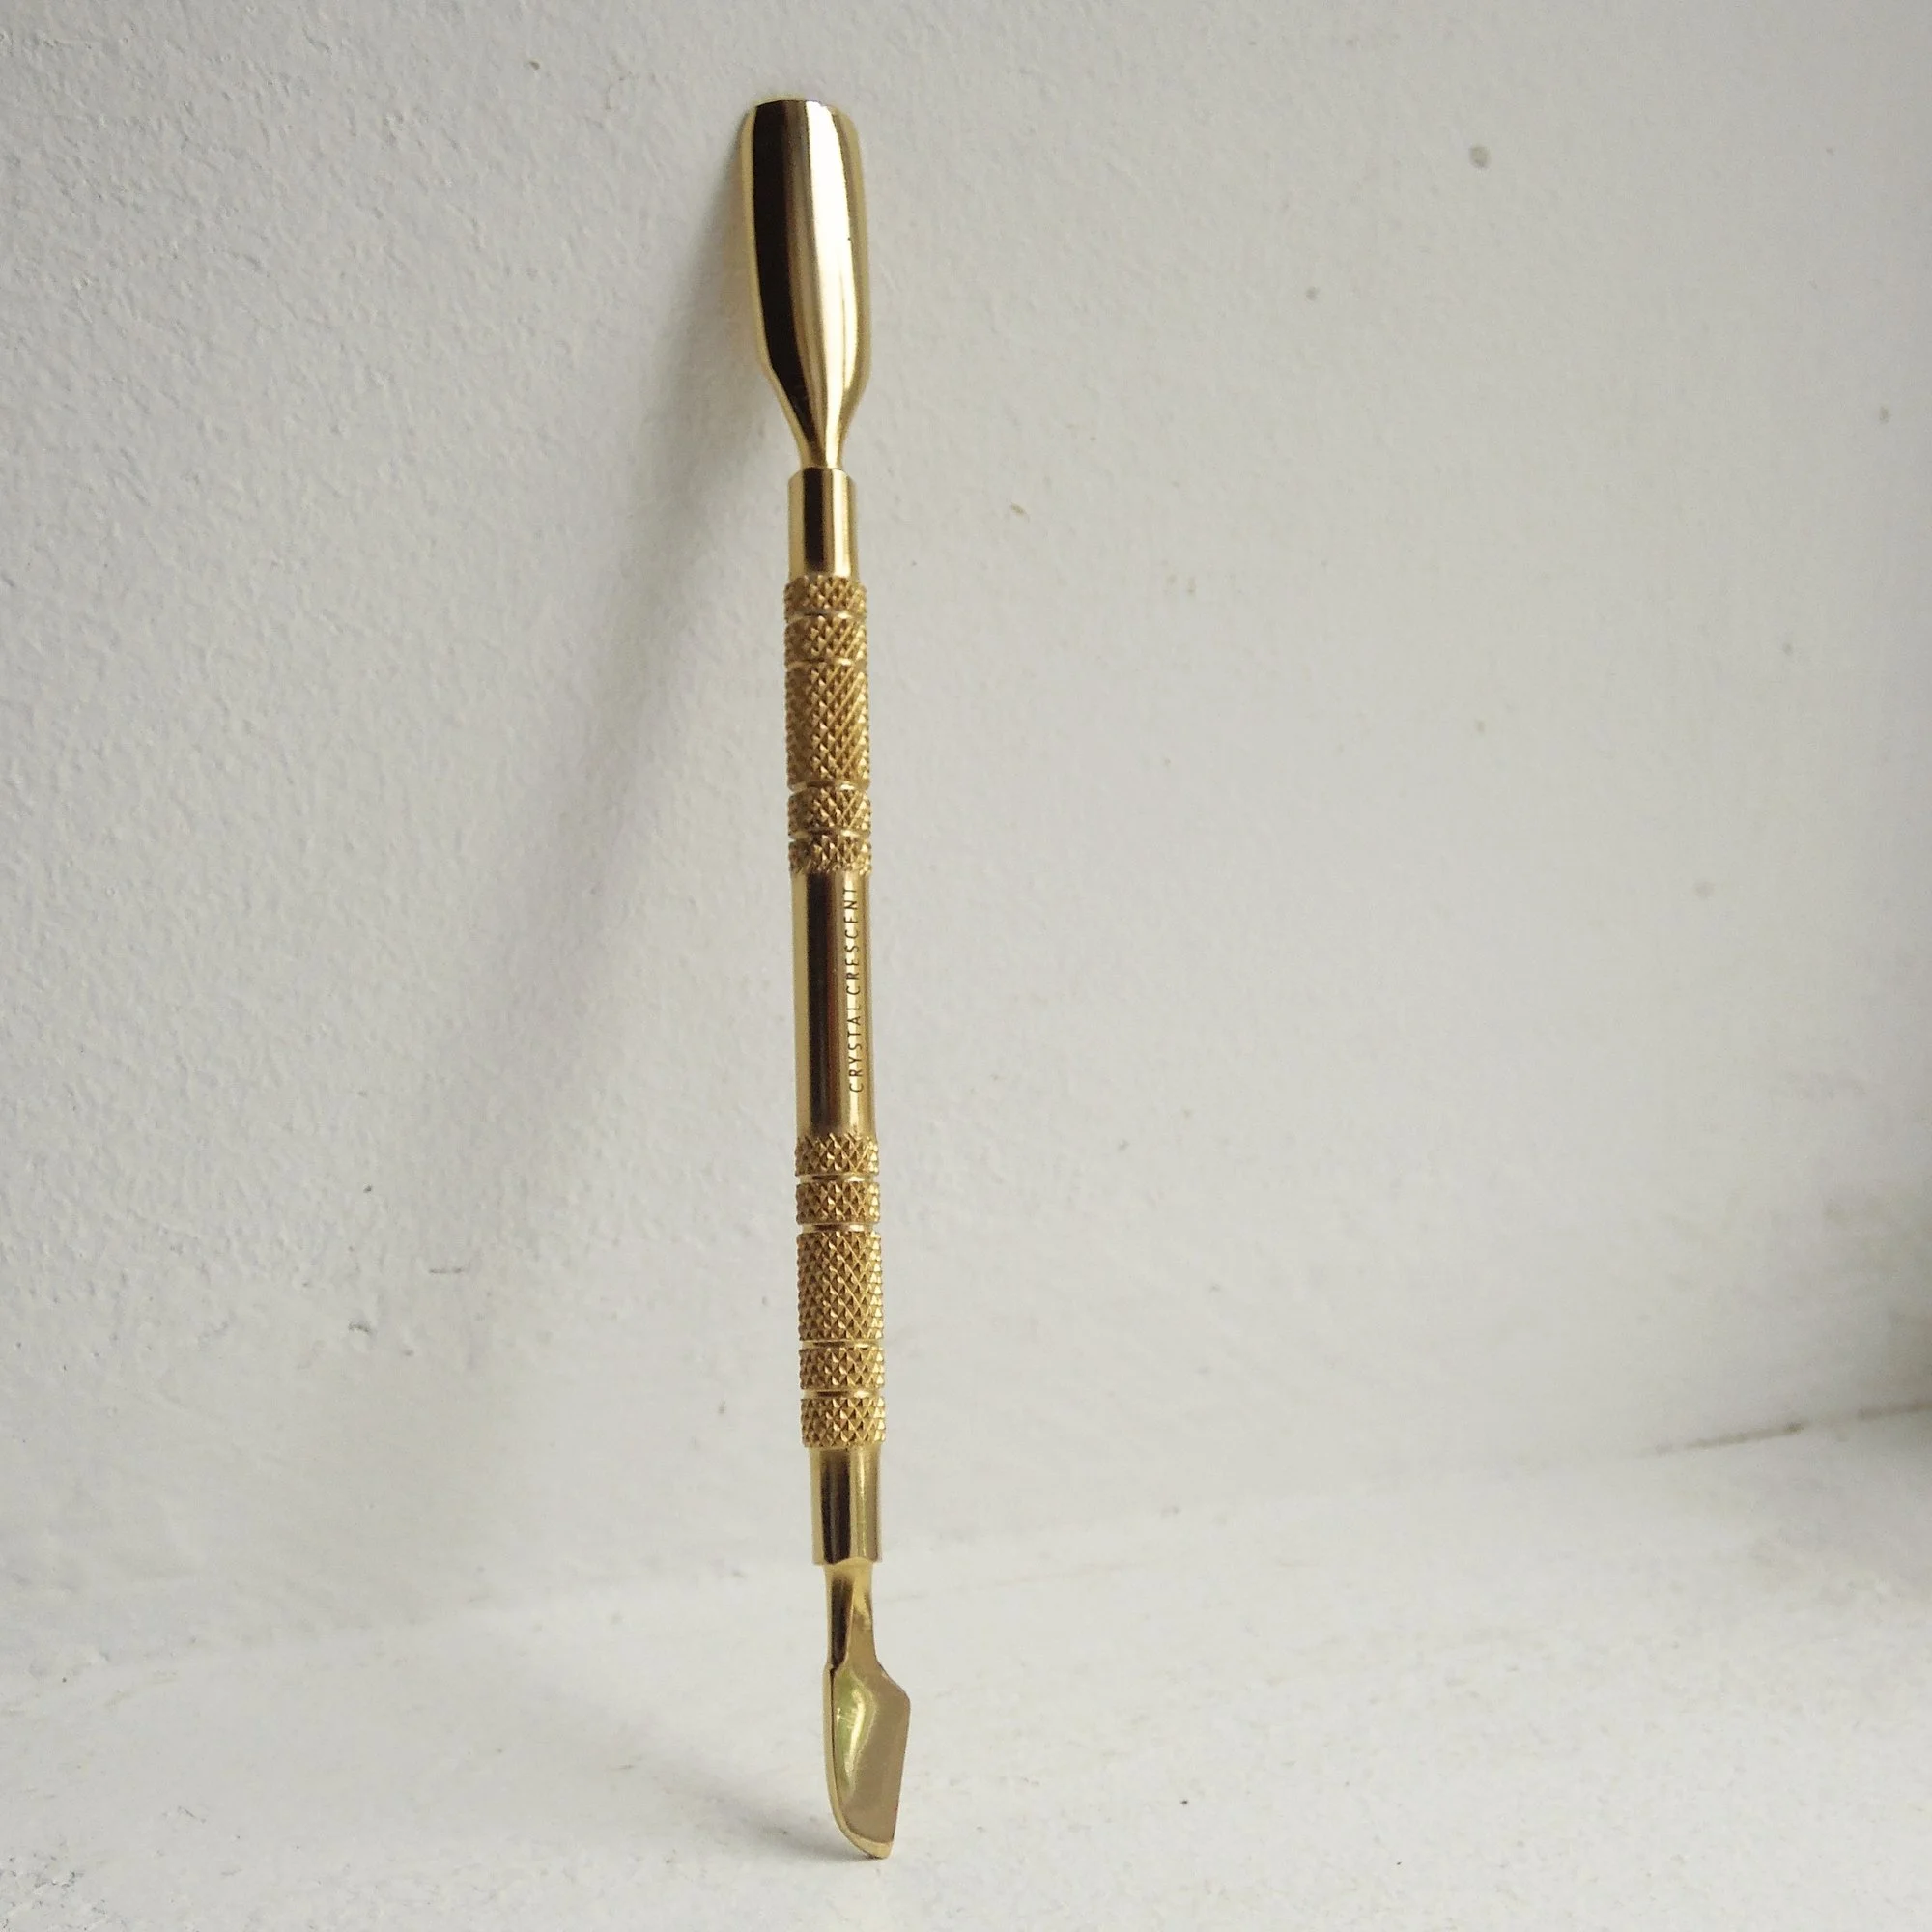
CC SIENNA Cuticle Pusher
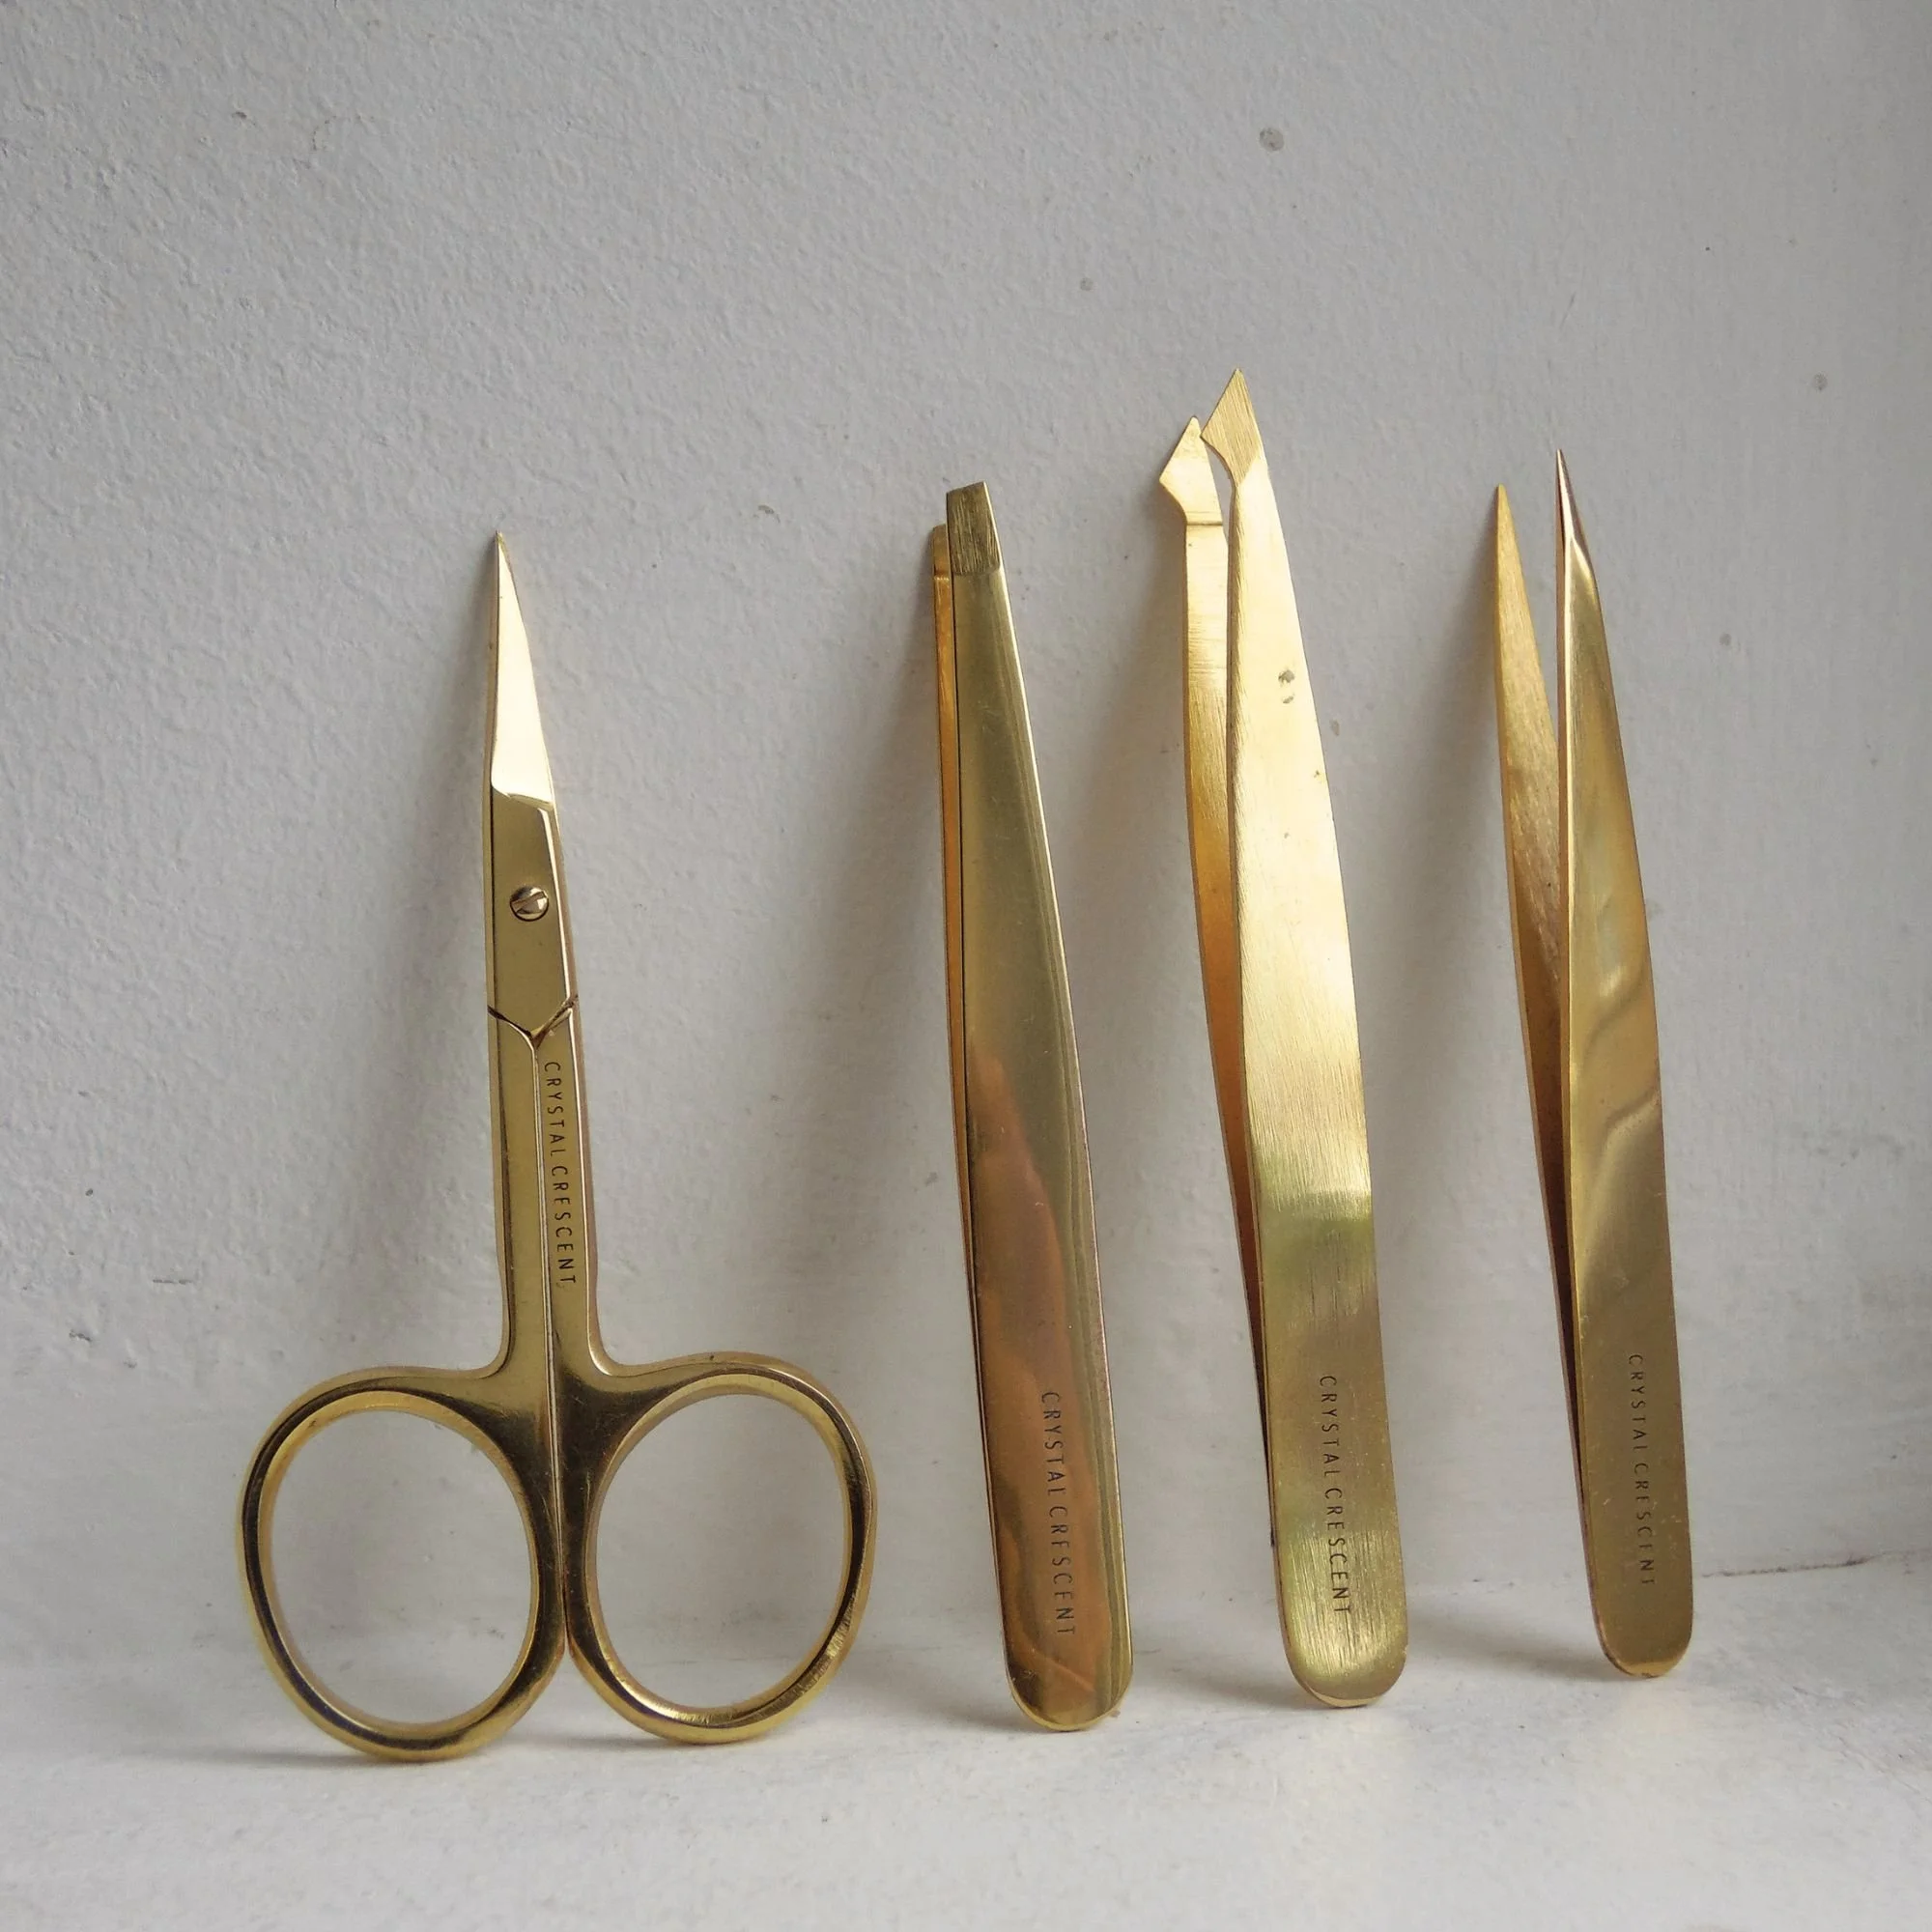
CC AMARA Cuticle Cutter
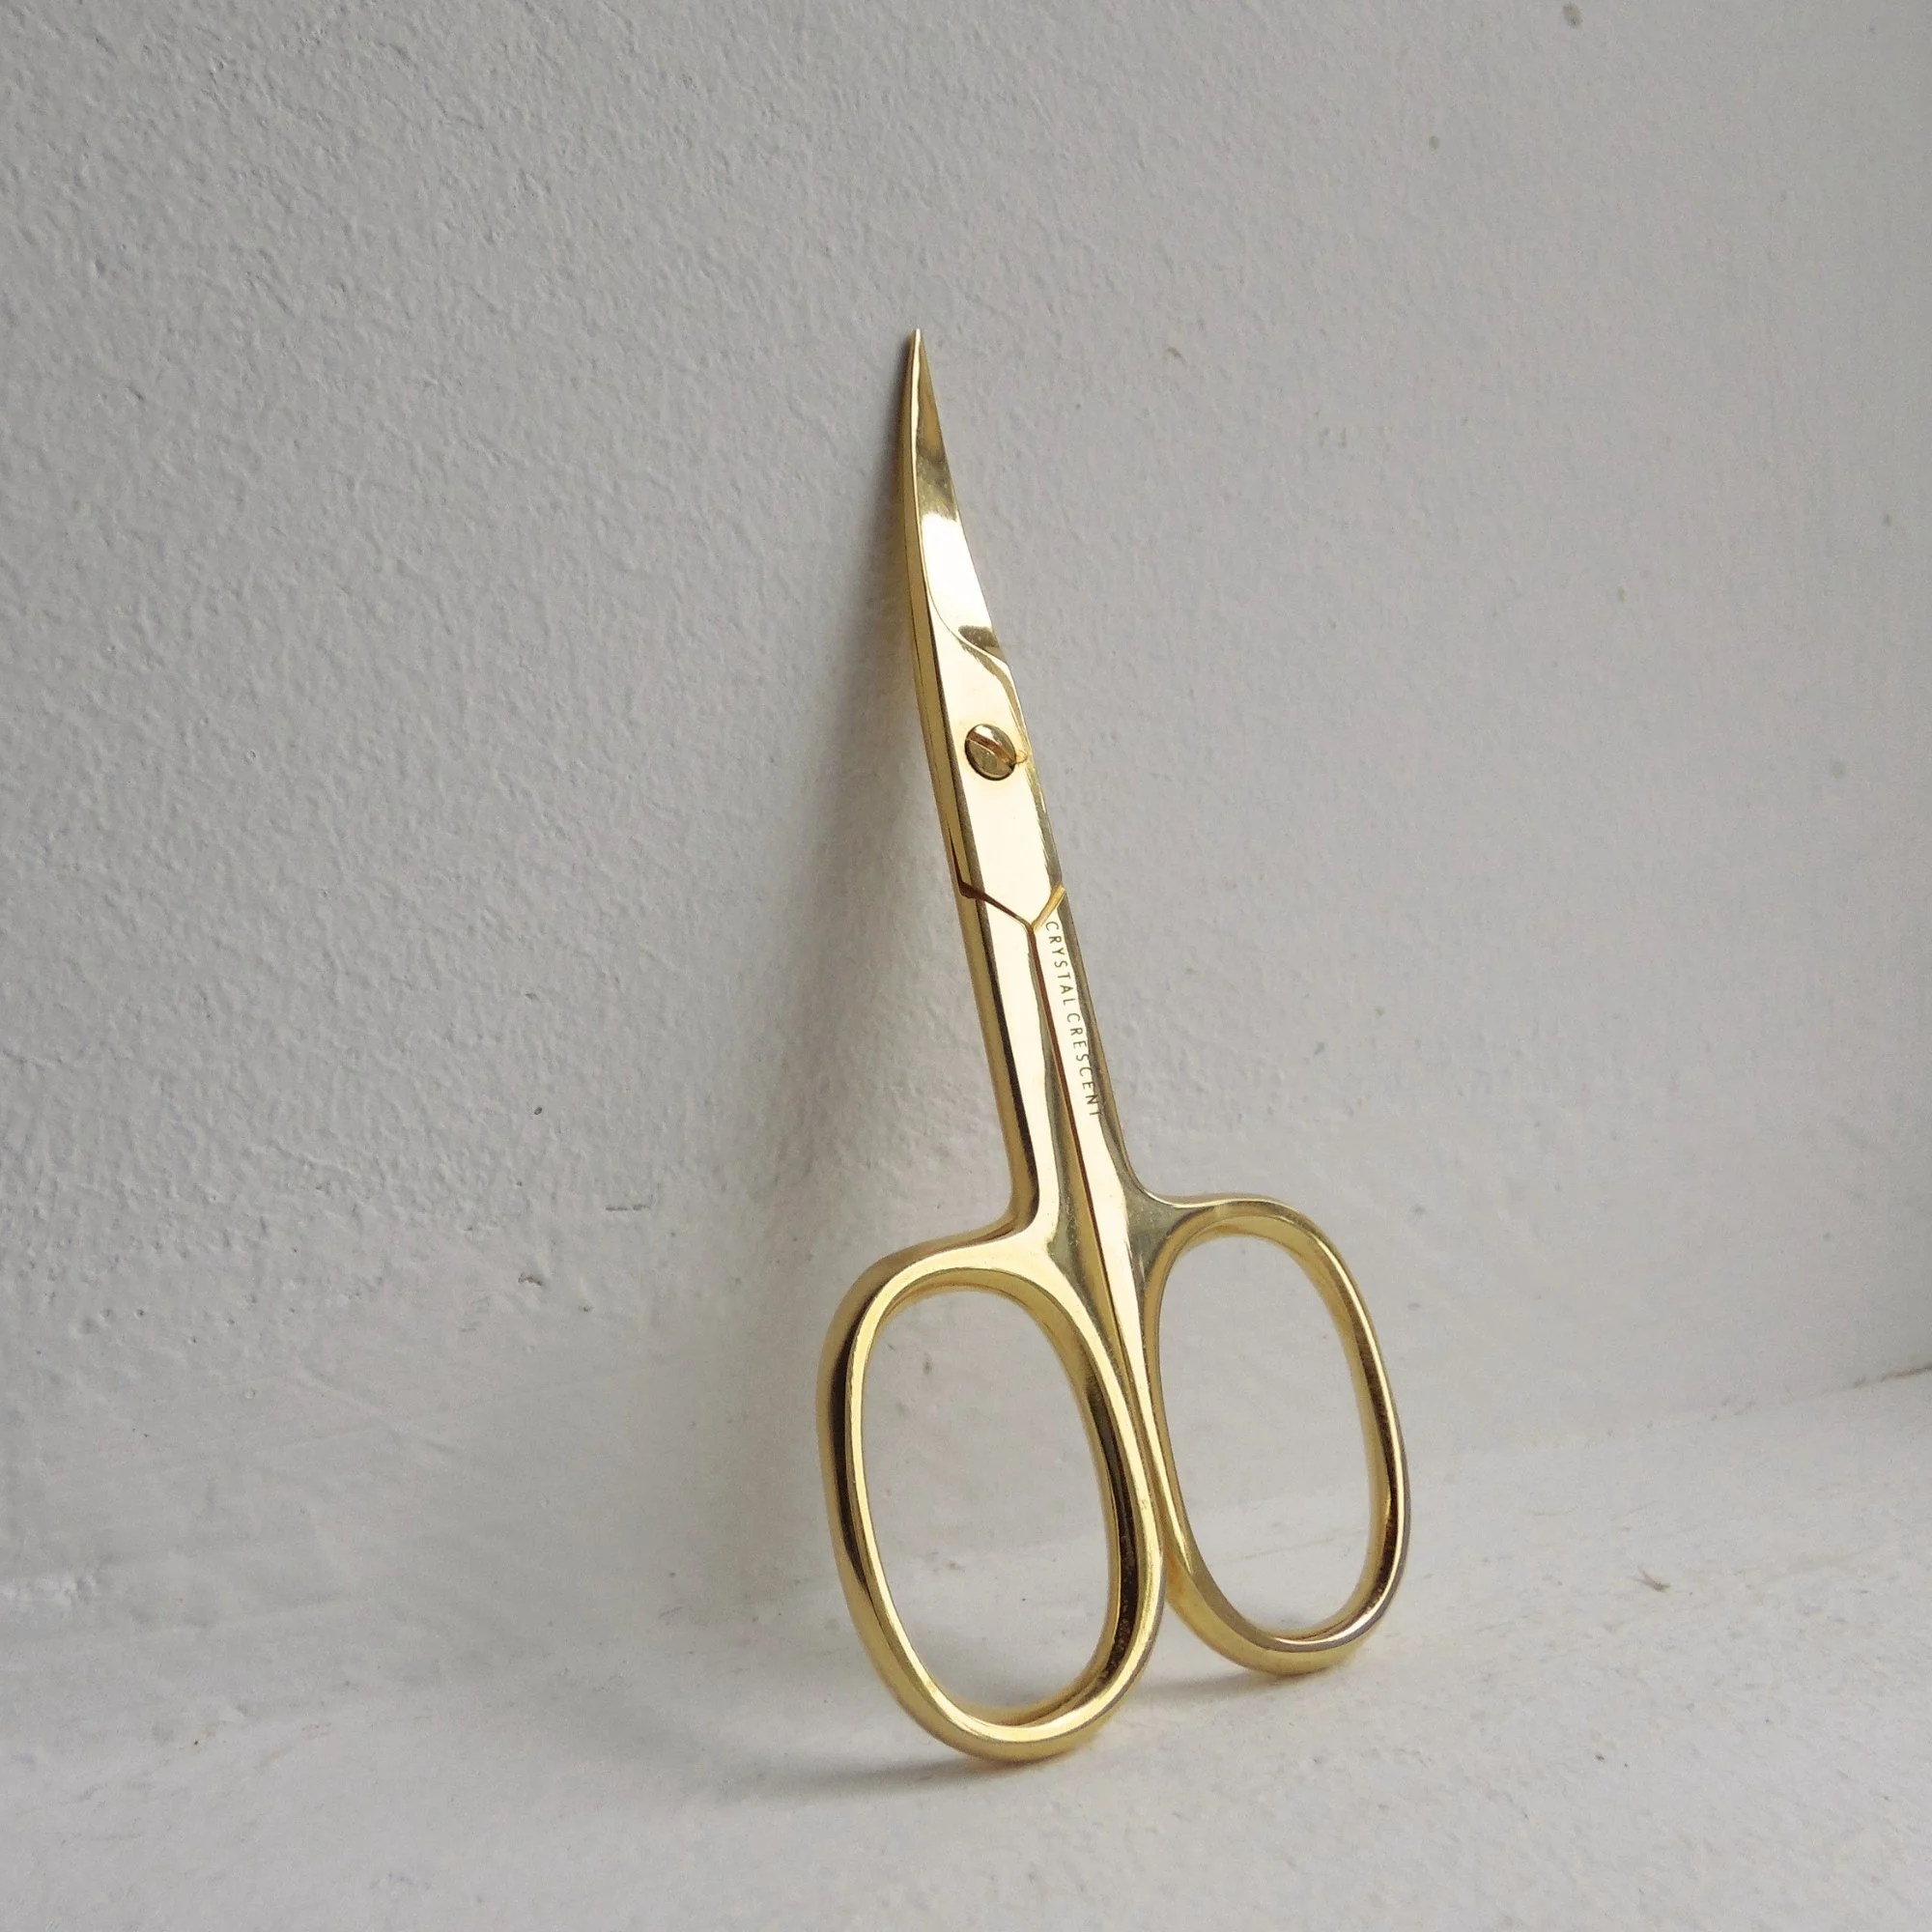
CC NYLA Nail Cutter
Nail file (180/240 grit recommended)
Buffer block
Lint-free wipes
Nail cleanser or alcohol solution
CC Acid-Free Primer
Base coat
CC No Wipe Topcoat
UV/LED lamp
CC Cuticle Oil
Step 1: Prepare the Natural Nail (Most Important Step)
Proper nail prep is what determines how long your gel polish will last.
Use the CC SIENNA Cuticle Pusher to gently push back the cuticles
Carefully remove excess cuticle using the CC AMARA Cuticle Cutter
Trim nails to your desired length with the CC NYLA Nail Cutter
Shape the nail using a file
Lightly buff the surface to remove shine
Step 2: Cleanse the Nail Plate
Remove all dust, oils, and debris:
Use a lint-free wipe with cleanser or alcohol
Ensure the nail is completely dry before moving on
This step helps improve adhesion and prevents premature chipping.
Step 3: Apply Acid-Free Primer
Apply a thin layer of:
Crystal Crescent Acid-Free Primer
This balances the nail plate and creates the perfect base for gel adhesion without damaging the natural nail.
Step 4: Apply Base Coat
Apply a thin, even layer of base coat
Cap the free edge (seal the tip of the nail)
Cure under a UV/LED lamp as instructed
Step 5: Apply CC Gel Polish Colour
Apply a thin first coat of CC Gel Polish
Cure under the lamp
Apply a second thin coat for full coverage
Cure again
Pro tip: Always apply thin layers to avoid wrinkling or uneven curing.
Step 6: Seal with No Wipe Topcoat
Finish with:
Apply a thin, even layer
Cap the free edge
Cure under the lamp
This gives a high-gloss, long-lasting finish without needing to wipe.
Step 7: Hydrate with Cuticle Oil
Finish your treatment with:
CC Cuticle Oil - Nail Growth & Repair Treatment
Apply to each nail and gently massage into the cuticles to restore moisture and give a professional finish.